Setting up the basics
Everything you need to know setting up the basics both illustrated by instructional videos and simple text explanation
Products
Make it quick and easy for your colleagues to select their opportunity’s interest in the app by inserting your products or product categories in the VivoLead app.
Log in on the VivoLead web interface and navigate to:
App settings > PRODUCTS
- select NEW
- insert product name
- click checkmark
Add your events
Before you can start using the VivoLead app, you have to add your events in the web interface. This allows you to track which events, you meet your opportunities.
Log in on the VivoLead web interface and navigate to:
App settings > EVENTS
- select NEW
- insert name of event
- select country
- insert start date
- insert end date
- click check mark
You have now created an event in the VivoLead app.
Company profile
In this section you can find and change the basic information about your company.
The administrator of your company is also listed here and can be updated at any time.
Log in on the VivoLead web interface and navigate to:
Company Profile
Qualification
Modify the VivoLead system to reflect your needs and to create the most amount of value from your sales events.
In order to modify the qualification area please watch the video to the right.
Log in on the VivoLead web interface and navigate to:
App settings > QUALIFICATION
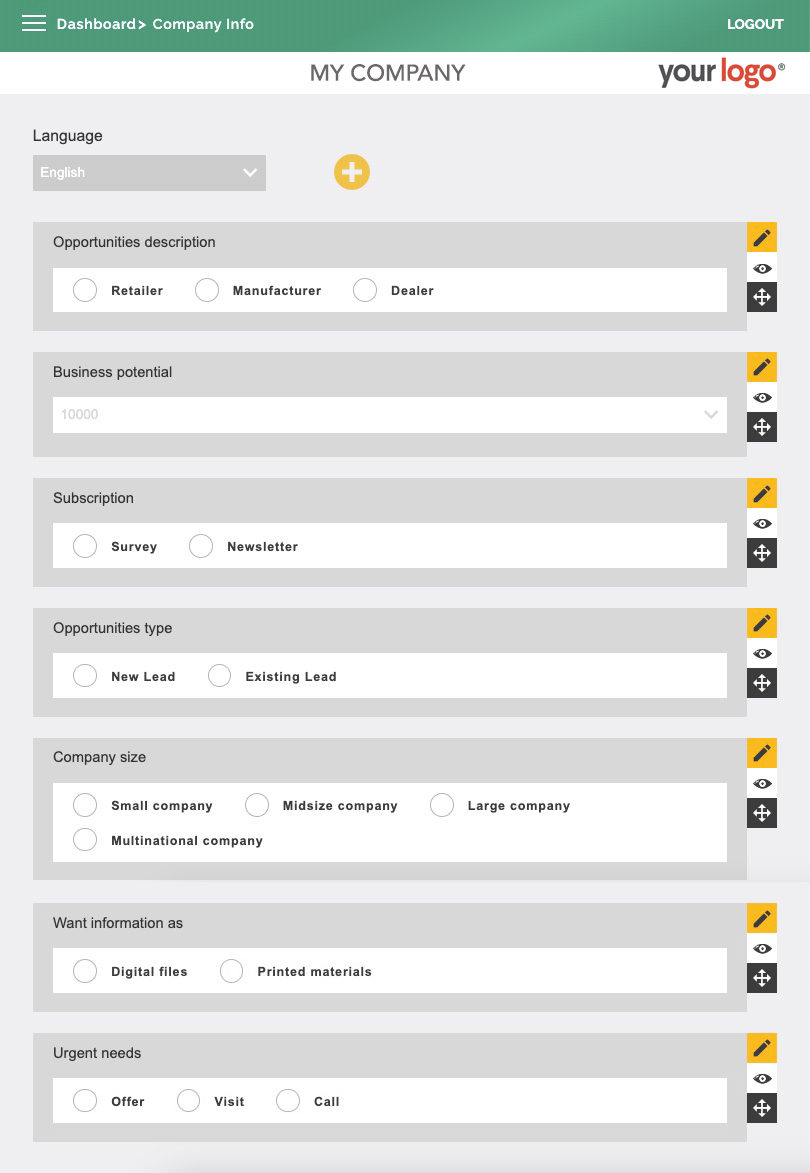
System default qualification section
This is how the standard qualification questions looks like. You have the possibility to edit all values, hide or add new extra questions according to your needs.


